This article will explain how to upload your website to Server running cPanel, through the cPanel File Manager. It will also give a basic explanation of where to upload your website content.
You’ve just purchased a hosting package that supports cPanel
Follow this steps to upload files and folders to your website:
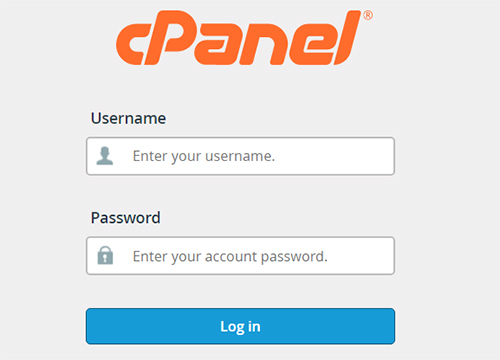
Step1: Login to your cpanel account
You can login to the cPanel directly. Just type http://yourdomain.com/cpanel and log in with your cPanel username and password.
step2: Open your file manager and select your website directory
You will then be logged into the cPanel Dashboard.
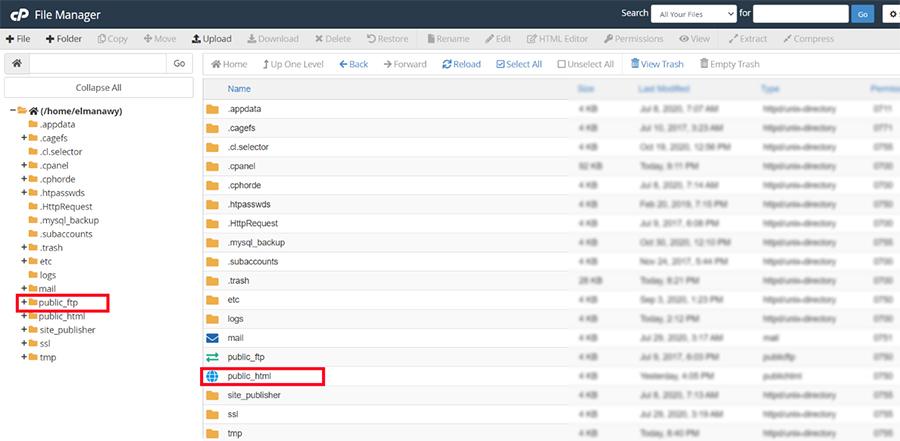
1- Select File manager in files tab section to see the directory.

2- Your primary domain's content should be placed in the public_html directory. To see this directory, open up your File Manager and click the public_html directory
step3: Uploading your compressed file
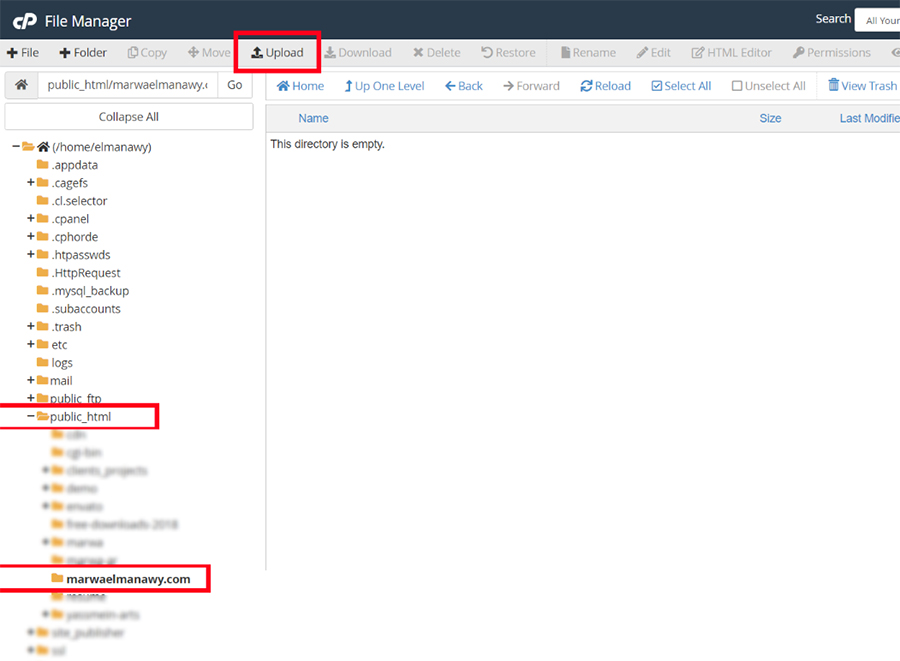
1- Once you click Upload, you will come to a screen that says Select File, click that button and then you will be able to select the file you want to upload from your computer.
Tip: Need to upload a lot of files? Create a ZIP file, upload it to your account, and unzip it there.
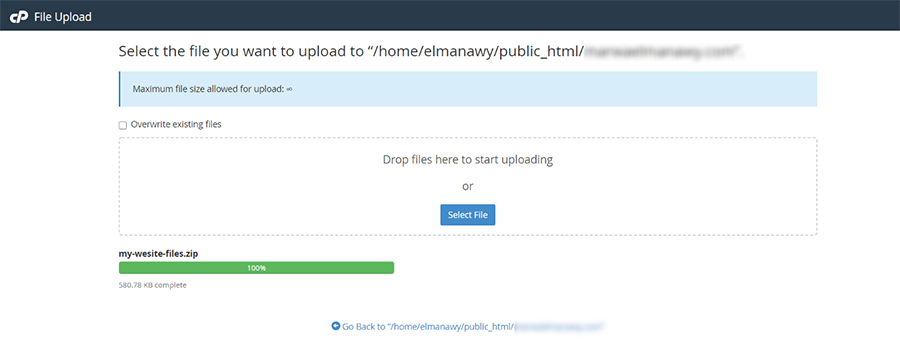
step4: Extract a ZIP file uploaded
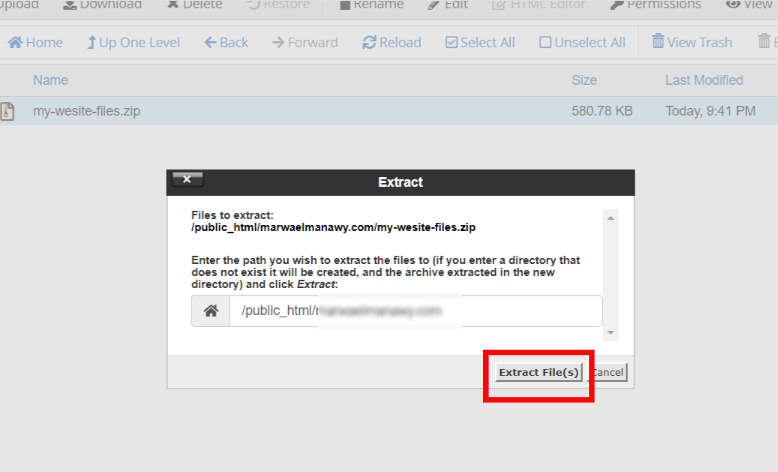
Once the file is uploaded, you can go back to your File Manager and see the file you uploaded and select it to extract it.

Congratulations! Finally your website is running on your server just check your domain http://yourdomain.com


